

Key Takeaways
- Push-up progressions work by gradually increasing the load placed on your chest, shoulders, and triceps.
- Starting from a wall or incline position is a legitimate, effective entry point — not a shortcut.
- Form checkpoints at each stage prevent injury and ensure you're building real strength.
- Advancing too quickly is one of the most common reasons push-up progress stalls.
- No equipment or gym membership is needed to build meaningful upper-body pushing strength.
What you will need
Why Progression — Not Repetition — Builds Strength
Repeating the same push-up variation at the same load indefinitely produces diminishing returns. Your muscles adapt to a stimulus within a few weeks, and without a new challenge, strength gains plateau. This principle — called progressive overload — is the foundation of all strength training, whether you're in a gym or on your living room floor.
For push-ups, progressive overload doesn't require added weight. It's achieved by changing your body's angle relative to the floor, adjusting your tempo, or increasing the range of motion — all of which increase the demand on your chest, anterior shoulders, and triceps.
Before diving into the steps, confirm your space is ready. Our guide on setting up a home workout space covers exactly what you need — which is less than you might think.
What you will need
What You'll Need
The push-up progression below requires almost nothing. A clear patch of floor and a sturdy wall is enough to begin. Here are the tools that make training more comfortable or effective:
Exercise mat or folded towel
Provides cushioning for wrists and knees during floor-based push-up stages.
Stable elevated surface (chair, step, or bench)
Used for incline push-up stages to reduce load and build strength gradually.
Notebook or training log
Records sets, reps, and dates to identify when you're ready to advance stages.
Stop If You Feel Joint Pain
Muscle fatigue is normal during push-up training; sharp pain in your wrists, elbows, or shoulders is not. If you experience joint pain at any stage, stop the exercise and consult a qualified healthcare professional before continuing. This article provides general fitness education, not medical advice.
The Five-Stage Push-Up Progression
Work through each stage in order. Do not skip ahead — each stage builds the motor patterns and tissue resilience the next one depends on. Rest 60–90 seconds between sets.
Start at the Wall (Wall Push-Up)
Stand facing a wall, arms'-length away. Place your palms flat on the wall at shoulder height and shoulder-width apart. Keeping your body in a straight line from head to heels, bend your elbows to bring your chest toward the wall, then press back to start.
Form checkpoints: Elbows should track at roughly a 45-degree angle from your torso — not flaring straight out. Keep your core lightly braced and avoid letting your hips drift forward.
Target before advancing: 3 sets of 15 clean reps.
Move to an Incline Surface (Incline Push-Up)
Place your hands on a stable elevated surface — a sturdy chair seat, a low table, or a bottom stair step. Assume a plank position with your body in a straight diagonal line. Lower your chest toward the surface with control, then press back up.
Form checkpoints: Hips must not sag or pike up. Your neck should be neutral — don't crane upward or tuck your chin to your chest. Hands should be just outside shoulder-width.
Target before advancing: 3 sets of 12 clean reps. Lower the surface height as strength increases.
Build the Foundation with Knee Push-Ups
Get into a push-up position on the floor, then lower your knees to the ground. Cross your ankles if that's more comfortable. Your hands should be slightly wider than shoulder-width. Lower your chest toward the floor with a controlled tempo, then push back up.
Form checkpoints: Your hips should form a straight line with your torso — avoid sitting back on your heels or letting your hips sag. Keep shoulder blades wide and don't let them pinch together at the top.
Target before advancing: 3 sets of 15 clean reps with a 2-second descent.
Perform Your First Full Floor Push-Up
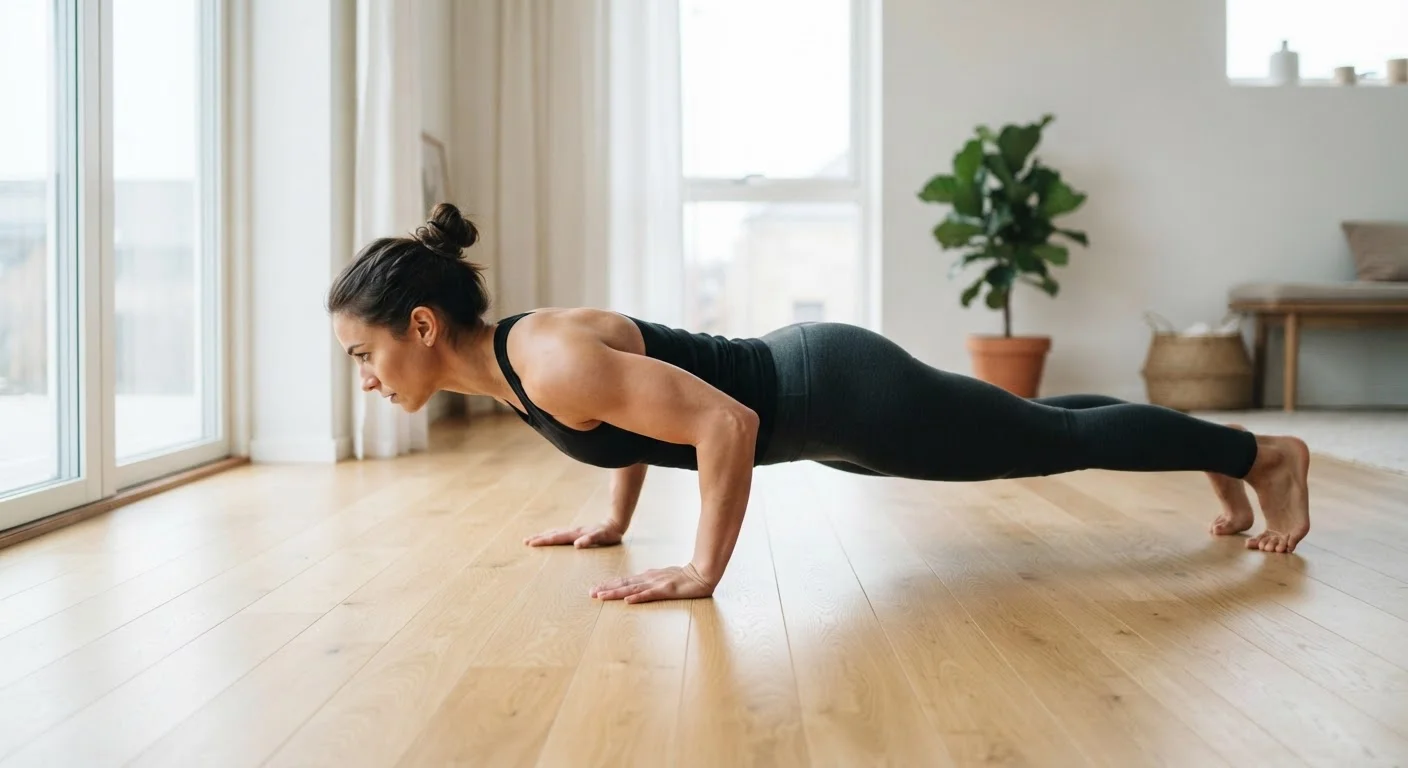
From a high plank, hands shoulder-width or slightly wider, toes on the floor: lower your chest to within an inch of the floor and press back up. Your entire body moves as one rigid unit.
Form checkpoints: Elbows at 45 degrees from the torso. Core and glutes actively engaged throughout. At the top, don't lock elbows hard — keep a slight softness to protect joints. Your chest, not your face or hips, should reach the floor first.
Target before advancing: 3 sets of 10 clean reps.
Add Volume and Tempo Variations
Once you can reliably complete 3 sets of 10 full push-ups, the progression continues not just by adding reps but by manipulating tempo and volume. Try a 3-second lowering phase (eccentric tempo) or pause for one second at the bottom before pressing up.
Variations to cycle through:
- Wide-grip push-up: Increases chest emphasis.
- Close-grip push-up: Shifts load toward triceps.
- Deficit push-up: Hands elevated on books or push-up handles to increase range of motion.
Understanding why progress eventually plateaus — and how to prevent it — is covered in depth in our article why your home workout stops feeling hard.
Don't Skip Stages to Move Faster
Jumping ahead in the progression before you meet the rep targets increases injury risk and often leads to compensatory movement patterns that are harder to unlearn later. Patience at each level is the actual strategy — not a delay.
Knowing When You're Ready to Advance
The clearest signal you're ready to move up a stage is meeting the target rep count with clean mechanics across multiple sessions — not just once on a good day. Quality of movement is a stricter standard than quantity.
Track Your Reps to Know When to Progress
Keep a simple log of the reps and sets you complete each session. When you can perform three clean sets at the target rep range on two or three consecutive sessions, that's your signal to move to the next stage. See our simple progress-tracking methods for easy ways to do this at home.
If you'd like to pair your push-up work with movements that also build cardiovascular fitness, exercises that double as cardio and strength training can complement this progression without requiring any additional equipment.
This article is for general informational and educational purposes only and does not constitute medical or fitness advice tailored to your individual circumstances. Consult a qualified healthcare or fitness professional before beginning any new exercise program, particularly if you have existing injuries, health conditions, or other concerns.