Windshields: How to DIY Repair
When your windshield has chips or minor cracks, repairing it can solve this problem. There are many Do-It-Yourself (DIY) kits in the market that you can use.
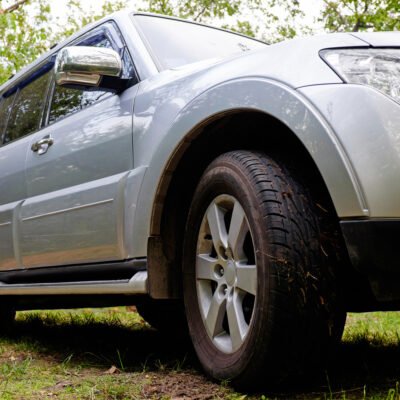
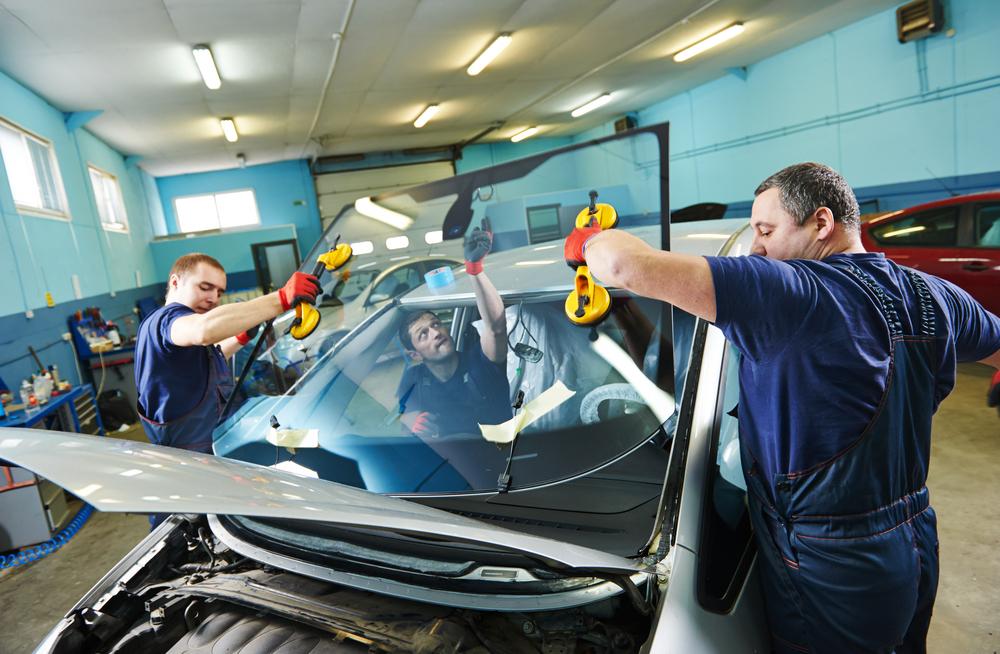
When your car windshield has severe cracks, you may have to replace it, otherwise, you can just repair it, as it is much more cost-effective. The process of repairing a windshield is not so easy, but there are many DIY kits available in the market that you can use.
The first thing you need to do is get the necessary equipment. You can get a DIY windshield repair kit comprising a bridge-type applicator that has suction cups. You also need a resin that comes with the kit and a UV lamp in case it doesn’t dry quick enough.
1. Keep things ready
Ensure you have everything ready and park the car in a shaded area as you don’t need sunlight until the work is done. Ensure that the windshield is dry and there is no moisture on it. Keep your kit ready with a razor blade and cleaning materials.
2. Prepare the Area
The area with the chip or crack needs to be prepared. Scrape the area with a razor blade to remove glass particles and any dirt or dust. Use gloves when you touch the glass pieces, as this can be quite dangerous.
3. Fix the applicator
The applicator would have suction cups. Place it in such a way that the central part is right over the damaged area. Use suction cups to hold the applicator in place and you are now ready to start.
4. Insert the resin injector
The kit would come with a resin injector, which pushes the resin to the affected area. Insert it into the central part of the applicator by screwing it in. Make sure the injector tube is touching the affected area.
5. Inject the resin
You would need five to six drops of the resin. Follow the instructions in the kit to understand how much resin you would need. Insert the resin into the applicator and squeeze it so that it falls onto the affected area.
6. Fix the resin
Use the plunger given with the applicator to force the resin into the crack. Do it slowly to prevent any air bubbles from entering. You can keep tapping the area around the crack/chip gently to prevent bubbles.
7. Attach a plastic strip
Remove the applicator slowly by unscrewing and withdrawing the suction cup. You can add a few more drops of the resin directly on the glass and attach a plastic strip to seal it. Move the car to a place where there is plenty of sunlight or use a UV lamp. Leave it to cure for at least an hour.
Remove the plastic strip and scrape off leftover particles and the resin. Use a cleaner liquid to neatly clean the glass and you have successfully repaired your windshield.